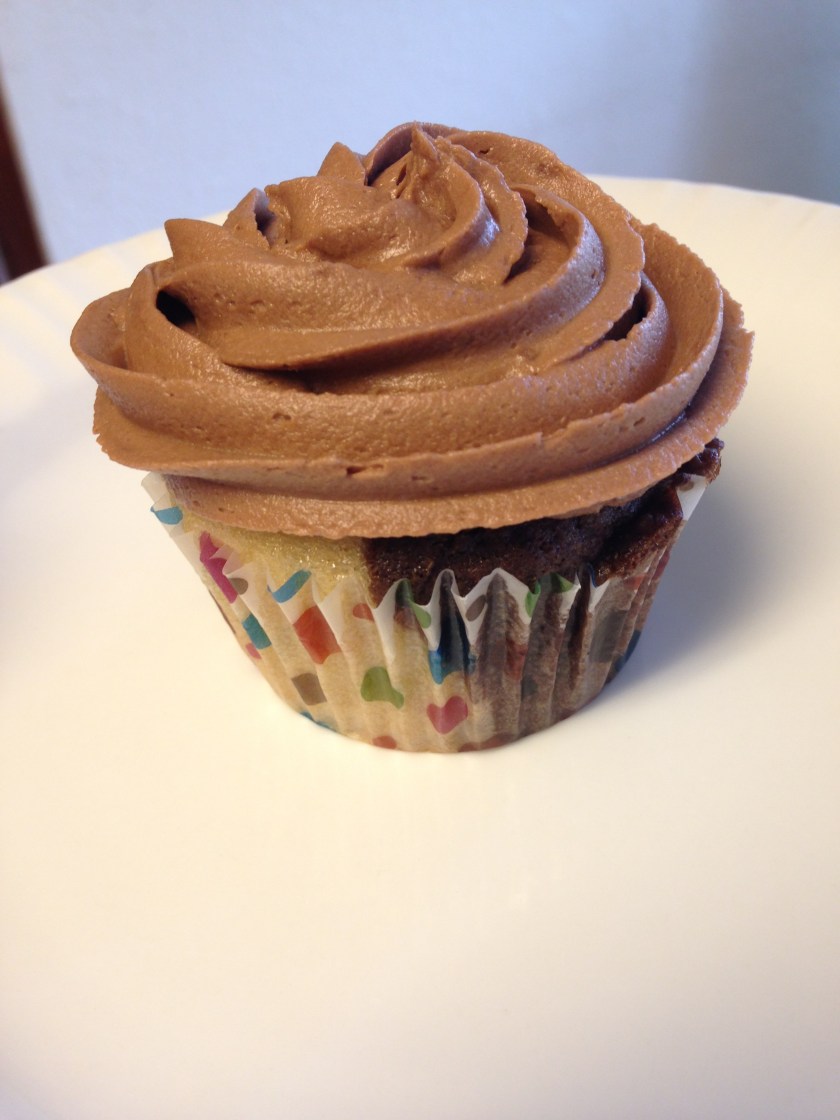
Chocolate Chip Cupcakes

Ingredients:

1/2 c. coconut oil

1 1/2 c. granulated sugar

3 flax eggs (3 T. golden flaxseed meal and 9 T. warm water) OR 3 Ener-G eggs (4 1/2 tsp Ener-G egg replacer and 6 T water)

2 tsp vanilla

1 c. brown rice flour

3/4 c. potato starch

1/2 c. tapioca starch

1/2 tsp xanthan gum

1 tsp baking powder

1 tsp baking soda

1/2 tsp salt

1/2 c. cocoa powder

1 c. non-dairy milk (from a carton).  I used almond milk.

1/4 to 1/2 c. Enjoy Life chocolate chips (I used a mix of mini and mega chunk.)


Directions:

Melt coconut oil and stir together with sugar in a large bowl.  Add “eggs” and vanilla and stir well.

In a separate bowl, combine dry ingredients.

Add the dry ingredients and the milk to the wet ingredients, beginning and ending with the dry ingredients.  I usually give it a quick mix with a mixer just to make sure all those gluten free ingredients are incorporated (about 1-2 minutes).  The last thing you want is a mouthful of unblended rice flour.

Line cupcake tin with cupcake papers.  Bake in preheated oven at 350 degrees for about 18 minutes until cupcake springs back when you touch it.

Cool on a wire rack.  Top with frosting (see below) and mini chocolate chips.


Frosting:

Ingredients:

3 1/2 c. powdered sugar

1 tsp vanilla

2 T. plus 1 tsp. butter (I used SmartBalance)

2 T. shortening (I used Spectrum.  You could probably use butter instead but it may not hold its shape as well.)

1/4 tsp salt

4-7 tsp non-dairy milk (I used Silk’s Original Cashew Milk but you could also use coconut or almond)


Directions:

Combine powdered sugar, vanilla, butter, shortening, and salt in a bowl.  Combine with a fork or a pastry cutter.   Add non-dairy milk one teaspoon at a time. You will need at least 4-5 teaspoons, but stir well before adding the last couple.  If your frosting will hold its shape, stop adding liquid.  Mix with a mixer for about a minute to combine well and to add a little fluff.

Coffee Crumb Cake

I barely got a picture of this before it was gone!  I was experimenting with a new idea and wasn’t sure if it would turn out or not.  Apparently it did :-).  There is a large amount of sugar and cinnamon in this recipe which makes it delicious, but I do recommend having many mouths to share it with!  I also recommend making it the day before you plan to serve it, and don’t rewarm it before serving it.  I took a bite while it was still warm and thought, “Meh”.  The next morning, however, was a different story.  It was moist and just right.  I took it to a Bible study and it was polished off.  Not only were people happy to eat it, but now I do not have leftovers begging me to overload on sugar!  I would say it’s a win-win. 🙂


Cake Ingredients:

1/2 c. coconut oil, melted

1 1/2 c. granulated sugar

3 flax eggs OR 3 eggs (for 3 flax eggs, add 9 T. water to 3 T. golden flaxseed meal in a small bowl and let it sit for 5 minutes)

2 tsp vanilla (I used Mexican vanilla)

1 c. brown rice flour*

3/4 c. potato starch*

1/2 c. tapioca starch*

1/2 tsp xanthan gum*

1 tsp baking powder

1 tsp baking soda

1/2 tsp salt

1 c. non-dairy milk (I used Silk Almond Milk- unsweetened this time)


Filling Ingredients:

3 T. butter, softened (I used EarthBalance Vegan Buttery Sticks)

1 T. cinnamon

1/2 c. brown rice flour

1/2 c. packed brown sugar


Topping Ingredients:

5 T. butter, softened (I used EarthBalance Vegan Buttery Sticks)

3/4 c. brown rice flour

1/2 c. packed brown sugar

1 T. cinnamon


Directions:

Cake: Set out butter so it can soften.  Preheat oven to 350 degrees Fahrenheit.  Make the flax eggs and set aside.  Cream melted coconut oil and granulated sugar in a large bowl.  Add in flax eggs (or regular eggs) and vanilla.  Stir well.  In a separate bowl, combine dry ingredients (brown rice flour, tapioca starch, potato starch, xanthan gum, baking powder, baking soda, and salt).  Add the milk and the flour mixture to the wet ingredients, beginning and ending with the flour mixture.  Pour half of the mixture into a greased 8×8 pan (pour in 2 cups and reserve 2 cups).

Filling:  In a small bowl, combine all filling ingredients.  I used a pastry cutter to mash the butter into it until it was all mixed and crumbly.  Sprinkle evenly over the cake batter in the pan, trying not to disturb the bottom layer.  Pour the rest of the batter (the remaining 2 cups) into the cake pan, but be gentle so you don’t disturb the filling layer.

Topping: In a small bowl (can be the same bowl used for the filling), combine the butter, brown rice flour, sugar, and cinnamon.  Use the pastry cutter again to cut in the butter until it’s all mixed and crumbly.  Sprinkle the topping over the top of the cake.  Gently press down on the topping with flat hands to help it stick to the cake.

Bake for 50-60 minutes in an oven preheated to 350 degrees Fahrenheit.  Cake is done when a toothpick inserted near the middle comes out clean (it will probably have some cinnamon crumbles on it, but it shouldn’t have any wet batter on it).  I cooked mine for the full 60 minutes, but I was checking it every 5 minutes beginning at about 40 minutes.

I was nervous that the cake was going to spill over the edges of my pan, so I put a thin aluminum cookie sheet under it.  It turned out to be unnecessary, but if you think your dish is shallower than an 8×8 Pyrex, then you might want to do this.  Another option is to use a 9×9 pan so your cake has a little more room to grow.  If you do so, you may need to bake it for a little less time.

*If you want to make this so it has all-purpose flour instead of being gluten free, you should be able to replace the flours, starches, and xanthan gum with equal amounts of all-purpose flour.  I haven’t actually tried this, but normally these recipes have been converted from a flour recipe.  Let me know if you try it and what the results were!


Original recipes:

https://www.gogogogourmet.com/cinnamon-coffee-cake-with-streusel-crumb-topping/

http://glutenfreehomemaker.com/gluten-free-yellow-cake-recipe/
Applesauce Cake

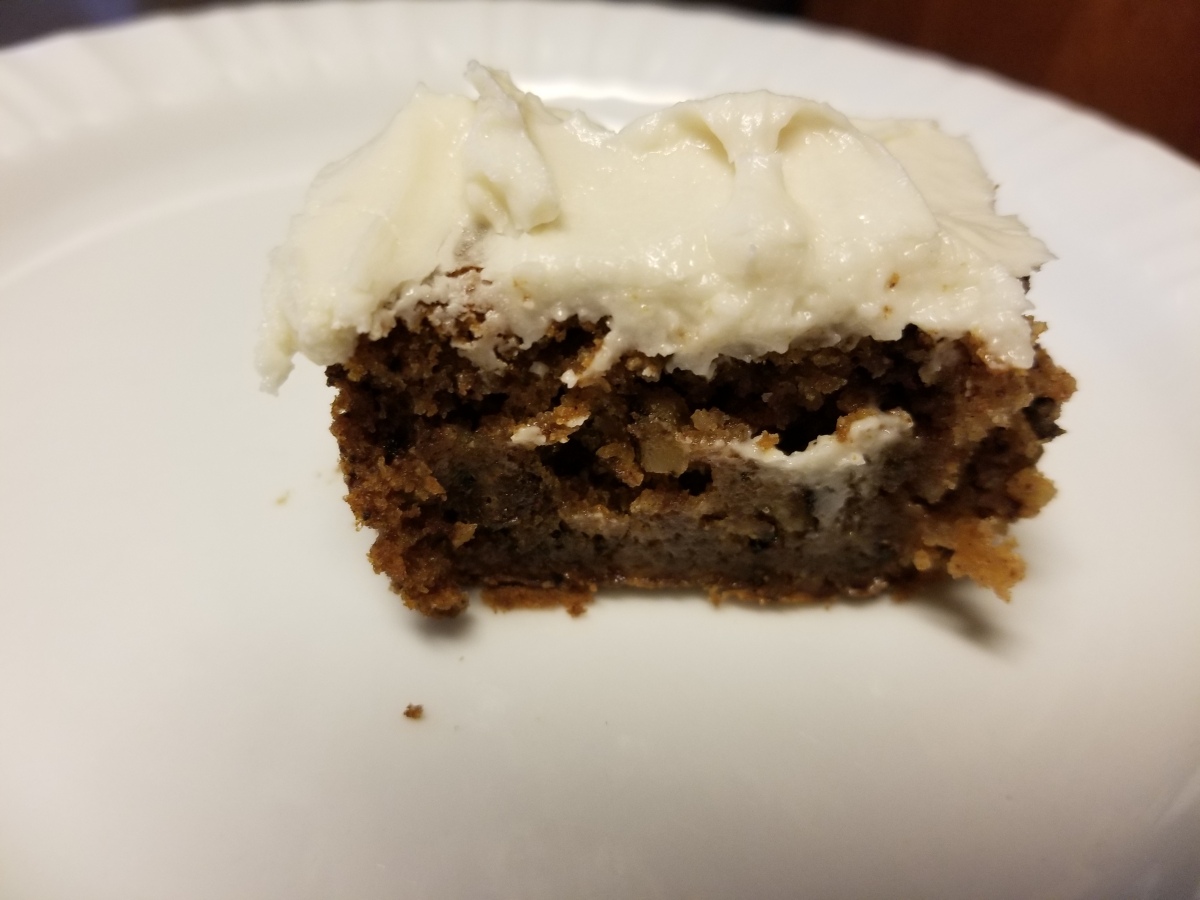
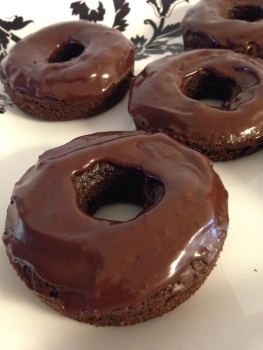
This cake was so good that it was gone before I thought about taking a picture the first time. This time I remembered.  It has the look of a carrot cake or a spice cake with cream cheese frosting, minus the carrots…  Plus, it’s a great way to use up that applesauce that is just sitting around in your fridge.  This recipe is one that I used before I was gluten free and I was really hoping it would convert well because I remembered it being so moist and delicious.  I was not disappointed!


Ingredients:

1 1/2 c. Bob’s Red Mill 1-to-1 flour mix

1/2 c. gluten free oat flour

2 tsp baking soda

1 tsp baking powder

1 1/2 tsp cinnamon

1/4 tsp cloves

dash salt, optional

1 c. raisins

1 c. chopped walnuts

1/2 c. non-dairy butter (I used 1 stick of Earthbalance)

1 flax egg (1 T. ground golden flaxseed mixed with 3 T. water)

1 c. granulated sugar

2 tsp vanilla

2 c. applesauce


Directions:

Combine flours, baking soda and baking powder, cinnamon, cloves, and salt in a medium bowl.  Cream butter and sugar in a large bowl.  Add the flax egg.  Beginning and ending with the dry ingredients, alternate between adding the dry ingredients and the applesauce, stirring after each addition.  Add in vanilla.  Add nuts and raisins and stir.  Pour into a greased and floured 9×13 pan (I used white rice flour.)  Preheat oven and bake at 350 degrees for 35-40 minutes or until an inserted toothpick comes out clean.  Allow to cool in pan.  Frost with my Whipped Cream Cheese Frosting.

Chocolate Sheet Cake

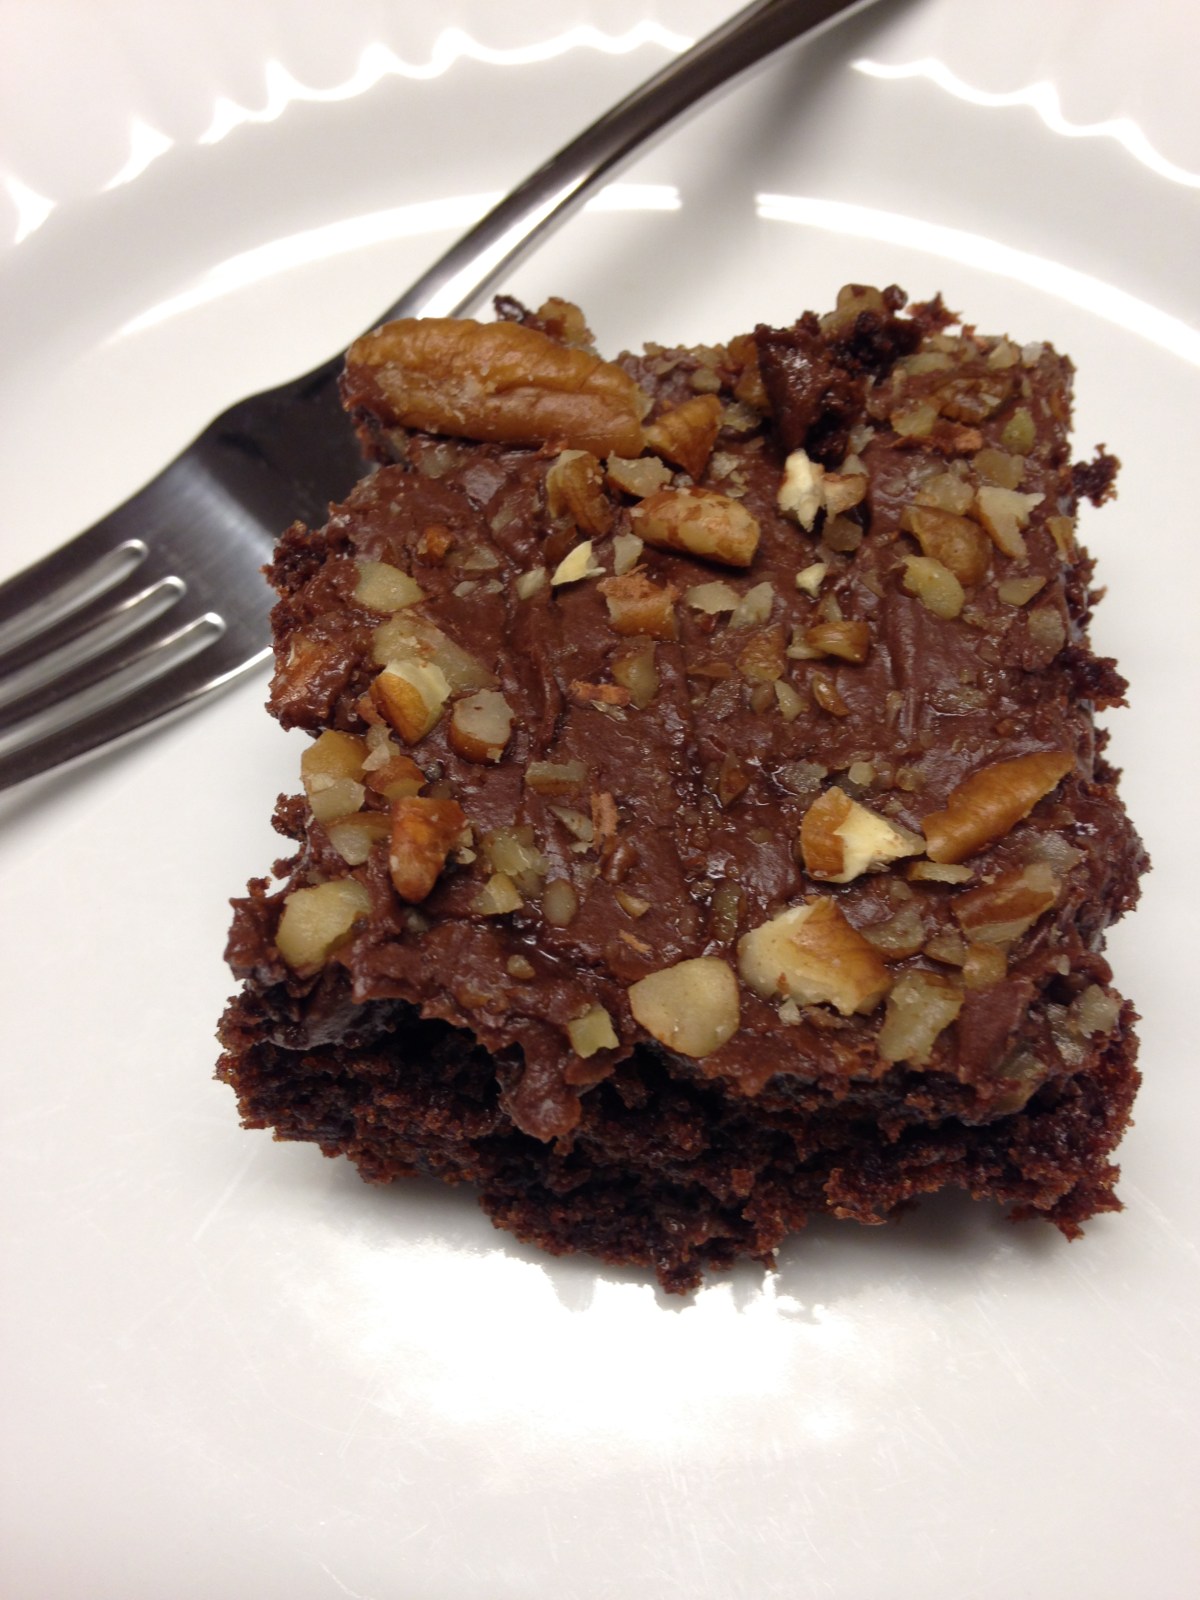
My husband requested this for his birthday this year.  The original recipe was supposedly brownies, but what we experienced was a sheet cake.  I hope you enjoy this as much as we did!  I just might have to make it again soon…


Dry Ingredients:

1/3 c. sorghum flour

1/2 c. teff flour

1/4 c. potato starch

1/3 c. tapioca starch

1/2 c. cocoa powder

1 tsp xanthan gum

1/2 tsp baking soda

1/2 tsp sea salt


Wet Ingredients:

1/3 c. nondairy butter, softened (I used Earthbalance)

1/3 c. coconut oil, melted

1 1/4 c. granulated sugar

2 tsp vanilla (I used Mexican)

1 c. warm water


Mix-ins and toppings:

1/2 c. Enjoy Life Mega Chunk Chocolate Chips

1/4-1/2 c. Enjoy Life Mini Chocolate Chips

1/2 recipe Vegan Milk Chocolate Frosting (but use all 7 tsp milk- see recipe re-written below)

1/2 c. chopped walnuts or pecans on top


Directions:

Combine all dry ingredients in a medium bowl and set aside.  In a stand mixer, cream butter, coconut oil, and sugar.  Add vanilla.  Take turns adding the dry ingredients and warm water to the stand mixer until both are completely added, stirring briefly between each addition.  Mix on medium speed for 1 minute.  Add both types of chocolate chips.  Pour into a greased 9×13 pan and bake in an oven preheated to 350 degrees.  Bake for 25 minutes.  Allow it to cool completely and then frost with Vegan Milk Chocolate Frosting (listed below).  Sprinkle nuts on top of frosted cake and gently press down so they stick in the frosting.  Eat and try to share ;-).


Vegan Milk Chocolate Frosting (1/2 recipe)


1 3/4 c. powdered sugar

1/2 tsp vanilla

1 T. plus 1/2 tsp. butter (I used SmartBalance)

1 T. shortening (I used Spectrum.  You could probably use butter instead but it may not hold its shape as well.)

1/8 tsp salt

1/8 to 1/6 c. cocoa powder (depending on how dark you want the chocolate to be)

7 tsp non-dairy milk (I used Silk’s Original Cashew Milk but you could also use coconut or almond)

IMG_6914

IMG_6915
It was hard to get an even line for this picture because we kept getting one last forkful…


Original recipe:

Credicott, Tammy.  “Fudgy Brownies.”  The Healthy Gluten-Free Life.  2012.  306.  Print.

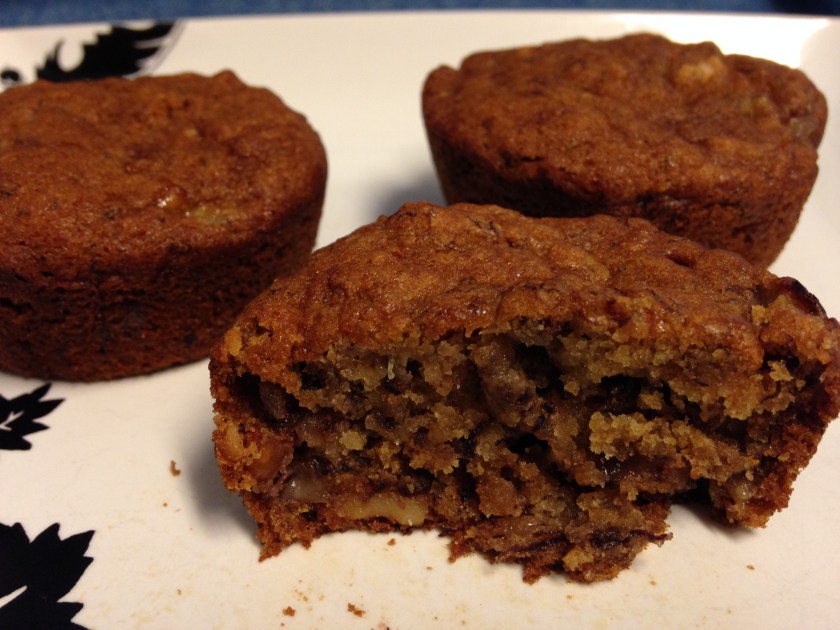
Apple Cinnamon Oatmeal Muffins

These are mostly made of nuts and apples.  I found myself eating more of these than perhaps I would have if they were straight up flour, sugar, and such.  If you want something sweet but want it to be a little healthier, this is a good compromise.  They do have a little bit of a “healthy” taste because of the nut flour, but if you don’t mind that, they’re pretty good!


Ingredients:

2 1/4 c. almond meal/flour

1/2 c. quick oats (I used Bob’s Red Mill GF quick oats)

2 T. ground flax seed

1/4 tsp salt

2 tsp baking powder

1 tsp cinnamon

1/4 c. coconut oil

1/4 c. maple syrup (I recommend the real stuff!)

1/4 c. non-dairy milk

1 tsp vanilla

3/4 c. finely diced apple with skin on (about 2 small apples)

1/2 c. walnuts or pecans, chopped

Topping:

2 tsp sugar

1 tsp cinnamon


Directions:

Combine all of the dry ingredients (almond meal/flour, oats, flax seed, salt, baking powder, and cinnamon in a large bowl.

Melt the coconut oil in a medium bowl.  Add the maple syrup, milk and vanilla and stir.  Next, add the wet ingredients to the dry ingredients and stir until everything is combined.  Add in the apple chunks and the nuts and stir.  Line a muffin tin with cupcake liners and fill to 3/4.  Put a little bit of the cinnamon/sugar mixture on top of each one.  The original recipe calls for more, but it was way too much and didn’t soak in.  You may use more if you want.

Preheat oven to 375 degrees and bake for 15 minutes.


Original recipe:

http://www.simple-veganista.com/2013/04/apple-cinnamon-muffinsgluten-free.html


Carrot Cake

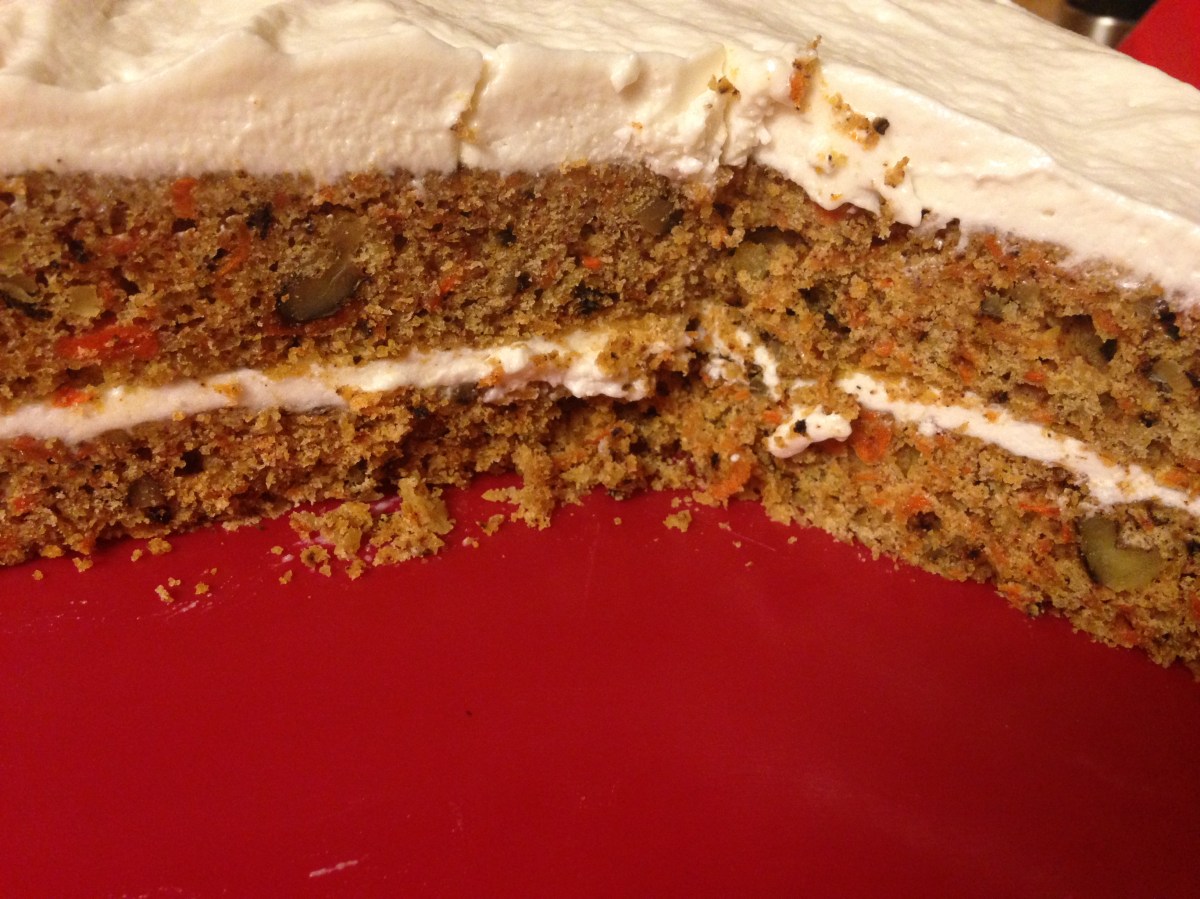
This recipe pairs perfectly with my Whipped Cream Cheese Frosting.

Wet Ingredients:

2 c. shredded carrots

1/2 c. sugar

1/2 c. brown sugar

1 tsp vanilla

3/4 c. milk (I used coconut milk to make it dairy free.)

2/3 c. coconut oil

Dry Ingredients:

2 1/4 c. flour (I used 1 c. brown rice flour, 3/4 c. potato starch, 1/2 c. tapioca starch, 1/2 tsp xanthan gum)

1 tsp baking soda

1 tsp baking powder

1/2 tsp salt

1 1/2 tsp cinnamon

1 tsp ginger

1/4 tsp nutmeg

1/4 tsp cloves

3/4 c. chopped walnuts


oil and flour for dusting (I used white rice flour)

Directions:

Stir together the carrots, sugars, and vanilla in a large bowl.  Add the milk and coconut oil and stir.  In a small bowl, combine the dry ingredients except for the walnuts.  Add the dry ingredients into the wet ingredients.  Stir until there are no lumps and then add the walnuts.  Pour into two oiled and floured round cake pans (I used spring form).  It should be about 1.5 cups of batter per pan.  Bake at 350 degrees for 18-20 minutes.  A toothpick should come out clean when inserted in the middle.  Do not over bake.


Cool completely and frost it with Whipped Cream Cheese Frosting.  To make a two-layer cake, frost the top of one cake and put the other cake on top of it.  Then frost the top and edges of the whole cake.  Store in the refrigerator.

Banana Nut Muffins- Gluten free and vegan

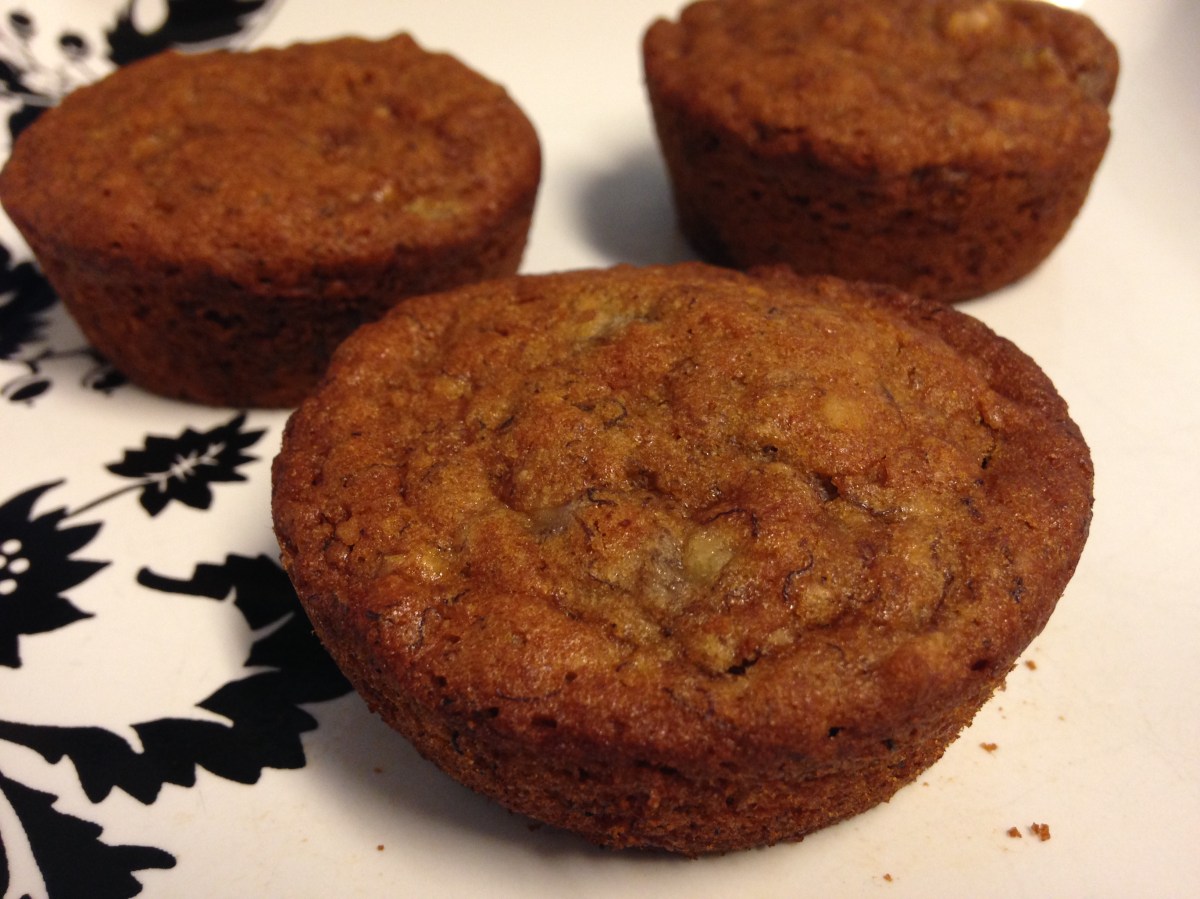
I recently went camping and bought 3 bunches of bananas.  Turns out bananas don’t travel that well, so I had a bunch of overripe, partially smashed bananas that I didn’t want to go to waste.  I have a friend from Africa who loves banana bread.  He rarely asks for anything, but after I gave him one muffin, he asked for another.

Ingredients:

1/2 c. oat flour

1/4 c. millet flour

1/4 c. tapioca starch

1/4 c. potato starch

1/8 c. amaranth flour

1/8 c. teff flour


1/2 tsp xanthan gum

1 1/2 tsp baking soda

1/2 tsp salt

4 overripe bananas

1 c. brown sugar

3/4 c. butter (I used SmartBalance), melted

2 eggs or 2 flax eggs

1 tsp. vanilla extract

1/2 c. chopped walnuts


Directions:

Stir together flours, starches, xanthan gum, salt, and baking soda.  In a separate bowl, mash two of the bananas and cream together with the brown sugar mix with beaters for 2-3 minutes.   Add in the “butter” and “eggs” and vanilla extract and beat again with the mixer.  Gently stir in the flour mixture.  Mash the other two bananas, but leave them with bigger chunks.  Stir into batter along with walnuts.

Pour into 2 muffin tins lined with cupcake liners.  You don’t need to grease the liners.  Fill them halfway and then tap the tin on the counter to squeeze out air pockets.

Bake for 18-20 minutes at 375 degrees.  They should spring back when you touch the top without leaving an indentation or you can stick a toothpick in them to see if it comes out clean.

Makes 2 dozen.


Note:

If you want to make this with full gluten, replace all of the starches and flours with all-purpose flour and eliminate the xanthan gum.

IMG_5615

Original recipe: http://www.foodnetwork.com/recipes/tyler-florence/banana-nut-muffins-recipe.html

Ding Dong Cupcakes- Version 1

I love all the chocolate Hostess and Little Debbie and Marinela items.  Unfortunately, I don’t know of a gluten free version, so here is a homemade, everything free recipe!  It is version one because I don’t have the frosting quite right yet.  That didn’t stop us and some guests from polishing them off!  Don’t miss out on making these cupcakes, but feel free to experiment with different frostings.  I will be doing the same and I’ll let you know when I make the right one :-).  In the meantime, I have included several options below.

Ingredients:

Dry:

1/2 c. brown rice flour

1/2 c. sorghum flour

1/4 c. potato starch

1/3 c. cocoa powder

1/2 c. brown sugar

1/2 c. granulated sugar

1 1/2 tsp baking powder

1/2 tsp baking soda

3/4 tsp xanthan gum

1/4 tsp sea salt

Wet:

1 c. nondairy milk

1/3 c. canola oil

1 T. apple cider vinegar

Filling:

SoDelicious CocoWhip


Directions:

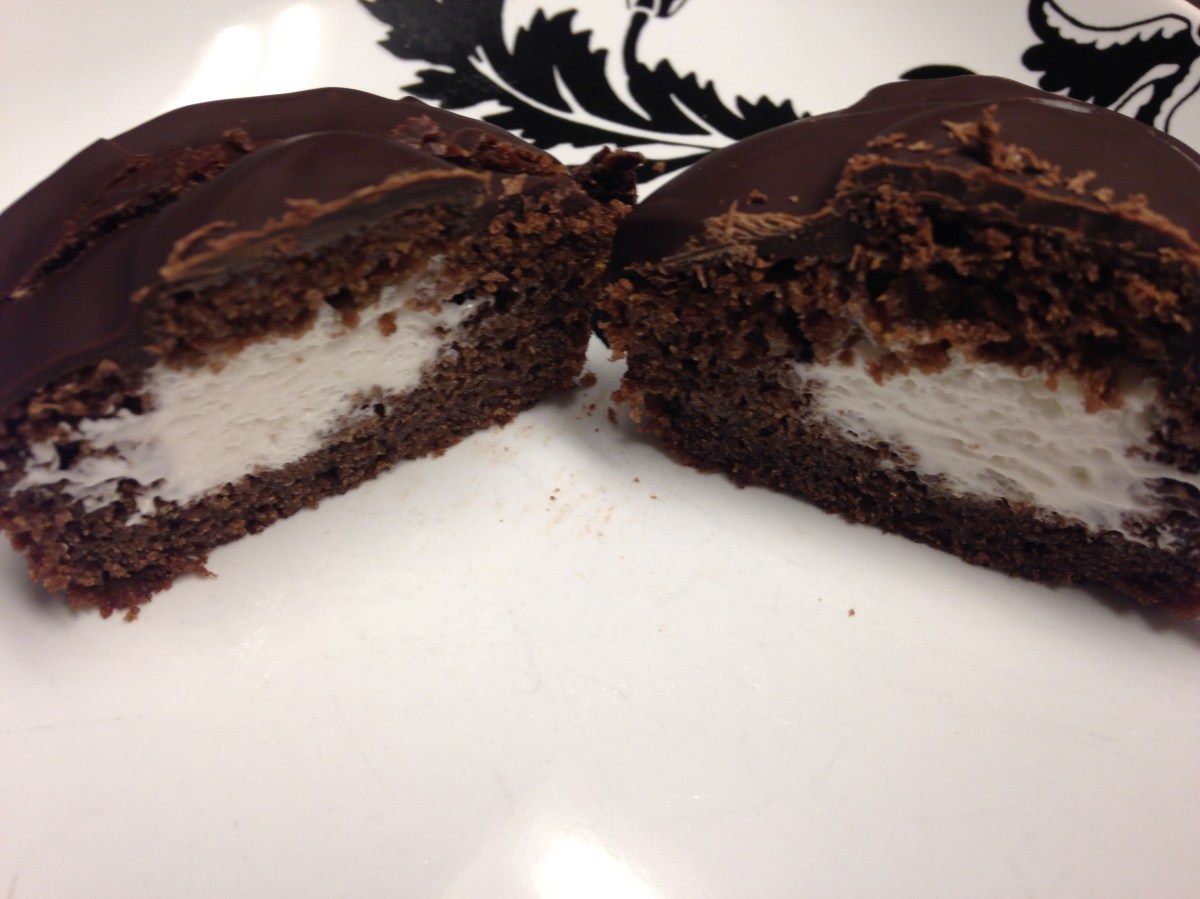
Combine the dry ingredients in a large bowl.  Add wet ingredients and stir well.  Pour into greased muffin tin and bake at 350 degrees for 18-20 minutes until it springs back when you lightly tap the top.  Cool slightly and remove from muffin tin.  Allow to cool completely.  Punch out a hole in the top using this clever device that I found for a few dollars at Bed Bath and Beyond:

IMG_5506

Fill hole with thawed SoDelicious CocoWhip.  Cut punched out part of cake in half and top the filled cupcake with the punched out part like this:

IMG_5509

I was a little sloppy since I knew I was going to frost it.

Frosting:

I think the best frosting so far would be my Milk Chocolate Icing.  It’s not perfect for this recipe, but of the following options, I think it has the best texture.  If you are going more for looks than texture, continue reading.

The following frosting was good, but it was a little too hard and did not replicate the frosting on the Hostess/Little Debbie/Marinela cupcakes you find at the store.  This is what I did, but it would work better if imitating Reeses or something like that.

Ingredients:

4 ounces Baker’s semi-sweet chocolate

1/4 c. powdered sugar

1 tsp milk

1.5 T. shortening

Directions:

Melt chocolate in the microwave in a bowl- stir every 30 seconds until melted.  Stir in remaining ingredients.  Top cupcakes quickly as the frosting will quickly harden.

It looked like this:

IMG_5510

The icing I used in the top image is just melted chocolate that hardened on top- no extra ingredients added:

IMG_5519

Recipe adapted from: http://www.forkandbeans.com/2014/08/22/gluten-free-vegan-homemade-ding-dongs/

Great Divide Cupcakes

These turned out just like I was imagining them!  The secret is a little tool sold at Bed Bath and Beyond (and probably other places with baking tools.)  See the pictures:


Directions:

1/2 c. coconut oil

1 1/2 c. granulated sugar

3 eggs or egg replacer equivalent to 3 eggs (4 1/2 tsp Ener-G egg replacer and 6 T water or 3 T. ground golden flaxseed and 9 T. water- I prefer flaxseed)

2 tsp vanilla

1 c. brown rice flour

3/4 c. potato starch

1/2 c. tapioca starch

1/2 tsp xanthan gum

1 tsp baking powder

1 tsp baking soda

1/2 tsp salt

1 c. milk (I used coconut milk from a carton)

1/4 to 1/3 c. cocoa powder


Directions:

Melt coconut oil and stir together with sugar in a large bowl.  Add “eggs” and vanilla and stir well.

In a separate bowl, combine dry ingredients except the cocoa powder.

Add the dry ingredients and the milk to the wet ingredients, beginning and ending with the dry ingredients.  I usually give it a quick mix with a mixer just to make sure all those gluten free ingredients are incorporated (about 1-2 minutes).  The last thing you want is a mouthful of unblended rice flour. Separate out half the batter into a different mixing bowl and add 1/4-1/3 c. cocoa powder to one of the bowls.  Mix thoroughly.

Place muffin liners into muffin tin.  Stand the divider in one of the cups and put vanilla cake in one side and chocolate in the other.  I found that about 1 1/2 to 2 T. worked well on each side.  Fill all liners until batter is gone.  If you run out of one, you can just use it to make a single-flavored cupcake.  Bake in preheated oven at 350 degrees for about 18-19  minutes until cake springs back when you touch it.

Cool on a cooling rack and then top with frosting.

Final product when topped with my Milk Chocolate Frosting (posting in 2 days, so come back again!):

IMG_5192.JPG

Pineapple Upside Down Cake

I made this for my sister’s birthday last year.  We were all pleasantly surprised as to how nicely it turned out.  I used the toothpicks to keep the saran wrap off of the glaze in order to transport it and just didn’t think to take a picture before I had put them in.  Enjoy this adaptation of an adaptation of an adaptation!


Ingredients:

Pineapple topping:

1 T. coconut oil, melted

3 T. light brown sugar

1 can of pineapple slices (save the juice-use the kind that is in its own juices, not in heavy syrup)

Cake:

Dry ingredients:

1 2/3 c. flour (approximately 3/4 c. brown rice flour, 1/8 c. millet flour, 1/8 c. amaranth, 1/3 c. tapioca starch, 1/3 c. potato starch, 1/2 tsp xanthan gum)

1/2 c. light brown sugar

1/2 tsp baking powder

1/4 tsp baking soda

1/4 tsp salt

Wet ingredients:

3/4 c. pineapple juice (from the pineapple slice can)

1/2 c. coconut milk (canned)

1/4 c. coconut oil, melted

1 tsp vanilla


Directions:

Brush a 9 inch round cake pan (I used spring form) with the 1 T. coconut oil.  Sprinkle the bottom of the pan with the brown sugar and then arrange the pineapple slices on the pan.  I think I just ate the extra(s) so it would look nice. 🙂

Combine the flour mixture with the other dry ingredients.  In a different bowl, combine the wet ingredients.  Stir the wet ingredients into the dry and mix just enough to make sure it is all combined (you could give it a quick 15 second whirl with the mixer after you have hand mixed it just to make sure).

Pour the batter into the prepared pan and make the top level.  Since I was using a spring form pan, I put the pan on a cookie sheet to catch the drips.  Bake in a preheated 350 degree oven for 30-35 minutes until a toothpick comes out clean.

Once the cake is cooked, allow it to cool for 10 minutes and then remove the edges of the springform pan and flip it onto a plate.  To prevent the cake from breaking, I put the plate on top of the cake and then flipped them over at the same time while pressing them together.

Adapted from: http://www.connoisseurusveg.com/2015/05/vegan-pineapple-upside-down-cake.html

Which was adapted from: http://sallysbakingaddiction.com/2014/03/03/pineapple-upside-cake/