Baked Chicken

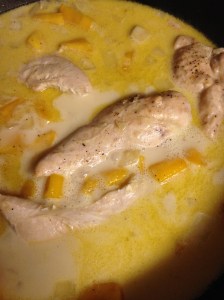
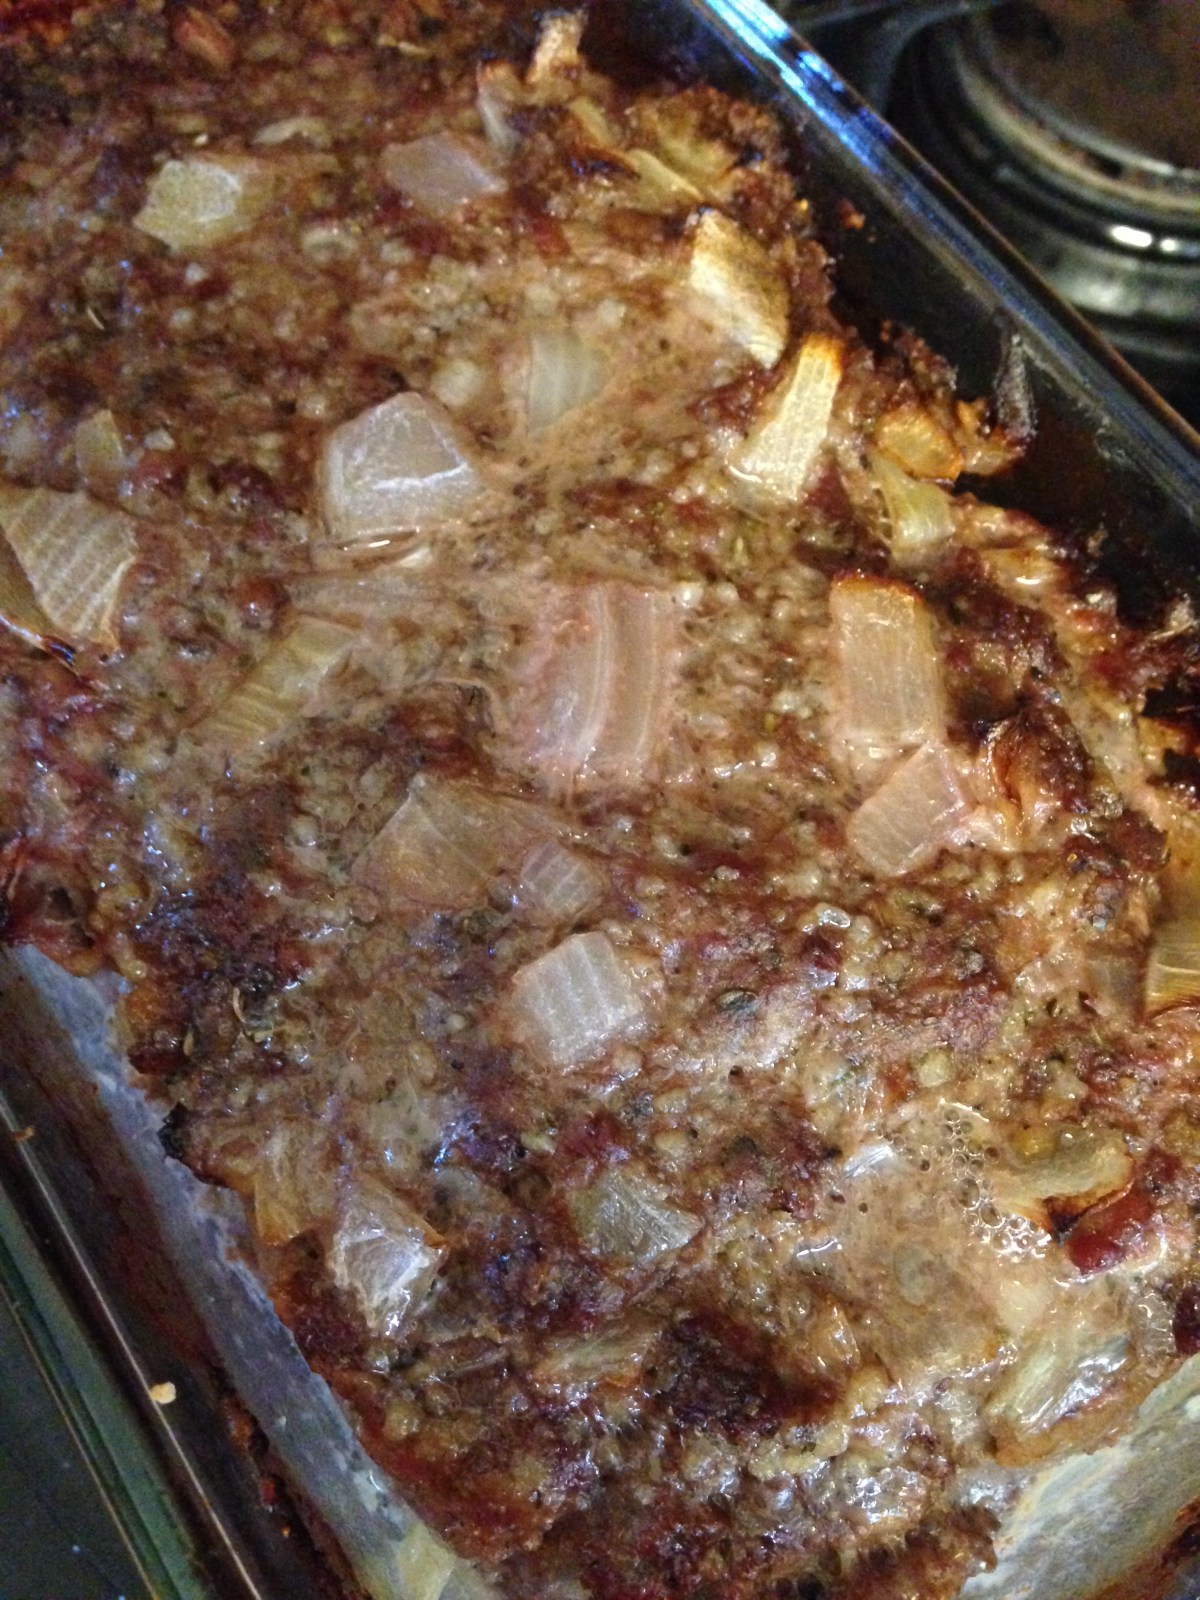
Sometimes you just want an easy meal, right?  I often cook chicken this way and use some that night or the next day and then freeze a bunch of it to be used at a later time.  It can be served just the way it is with a size of frozen vegetables and it’s a tasty meal, or it can be put in mango chicken, spaghetti, or whatever!  I usually just eyeball it as far as proportions go, but here’s an estimate of the amount I use.  A rookie mistake it to heavily coat the chicken in oil which gives you a pan of sizzling oil and chicken broth, so coat it lightly!


4 pounds chicken tenderloins or chicken breasts

1/4 c. olive oil

1 T. salt

1 tsp pepper


Mix olive oil, salt, and pepper in a small bowl.  Coat a cookie sheet with aluminum foil (so cleanup is easier).  Place raw chicken on the cookie sheet with a little bit of space between each piece of chicken.  I usually have to use two cookie sheets.  Using a basting brush, lightly coat the chicken with the oil mixture.  If you have extra oil, you can turn the chicken over and coat it, but that’s not necessary.  The most important thing is to make sure you get some salt and pepper on each piece of chicken.


Cook chicken in an oven preheated to 375 degrees for about 20-25 minutes.  Chicken is done when you cut it and it shreds like chicken (think Chick-fil-a sandwich), or when you press on the top and it feels firm to the touch.  Make sure you let the rest of the chicken rest for 5 minutes before cutting so it can soak all those good juices back in and remain moist!

After the chicken cools, you can freeze it.  I usually put it in the fridge overnight and then freeze it the next day.  It seems to help it freeze better to gradually change the temperature.

Advertisement

Mango Chicken

The idea for this recipe came from some cookbook long, long ago.  I have changed it so much and made it my own, and I don’t remember where the original source was.  I made it several times using fresh mangos when I was in Central America.  The best I can do now is frozen mangos, but they taste good too.  My husband and I really enjoyed this and we hope you do too!

Mango Chicken

1 large onion, chopped

1 bag of frozen mangos, cut into smaller pieces (you can use fresh if you can find good ones, but the frozen ones worked great!)

2 pounds chicken tenderloins, precooked (I have a method for pre-cooking chicken which I will share in another post.)

2 T melted butter (I used Smart Balance dairy free)

1 tsp salt or more, to taste

1/2 tsp ground black pepper or more, to taste

1/4 tsp paprika

pinch of nutmeg

Grated rind of one lemon (optional)

1 cup chicken broth (make sure it’s gluten free- I use Swanson’s or HEB brand usually)

juice of 1 lemon

1 can coconut milk, 14 oz.  (use full fat, not the lite ones)


Chicken mixture:

Place onions in a large skillet and cook to soften.

Combine “butter”, salt, pepper, paprika, and nutmeg in a small bowl.  Rub all over chicken.

Put chicken and mango in the pan with the onions and cook until warm throughout.


Meanwhile, make the milk sauce:

Bring chicken broth to a boil in a saucepan.  Reduce the heat and stir in lemon juice and coconut milk.  Continue to simmer and stir until it thickens just a little.

Pour the milk sauce into the chicken mixture and cook for 5-10 minutes to let the liquid reduce a little.  May be served over rice.

IMG_4647
This is what it looked like in the pan before I served it over rice.

We hope you enjoy this as much as we did!

Chocolate Bundt Cake

Last night we celebrated some family birthdays with this cake.  It was a hit!  The trick to getting it out of the bundt pan is to grease and flour the pan.  Of course, if you’re going for gluten free, make sure you flour it with gluten free flour.  I usually use white rice flour.  The white you see on the top of the cake is the flour.  It was later covered by frosting and you couldn’t tell, so don’t worry :-).


1/2 c. coconut oil

1 1/2 c. granulated sugar

3 Ener-G eggs (4 1/2 tsp Ener-G egg replacer and 6 T water)

2 tsp vanilla

1 c. brown rice flour

3/4 c. potato starch

1/2 c. tapioca starch

1/2 tsp xanthan gum

1 tsp baking powder

1 tsp baking soda

1/2 tsp salt

1/2 c. cocoa powder

1 c. coconut milk (from a carton)

1/2 c. chocolate chips (I use Enjoy Life dark chocolate morsels)

Directions:

Melt coconut oil and stir together with sugar in a large bowl.  Add “eggs” and vanilla and stir well.

In a separate bowl, combine dry ingredients.

Add the dry ingredients and the milk to the wet ingredients, beginning and ending with the dry ingredients.  I usually give it a quick mix with a mixer just to make sure all those gluten free ingredients are incorporated (about 1-2 minutes).  The last thing you want is a mouthful of unblended rice flour.   Stir in chocolate chips.

Pour batter into greased 8×8 pan or round cake pan (or you could do cupcakes and just reduce the baking time).  Bake in preheated oven at 350 degrees for about 30-40 minutes until cake springs back when you touch it.

You may top with frosting.  I don’t have a quantified recipe yet, but I’ll try to write down what I do sometime and post some frosting recipes.  Until then, just so you know, I usually use powdered sugar, Smart Balance or Earth Balance butter, coconut milk, salt, and vanilla to make frosting.

Also, if you read my donut post, you will notice that this recipe is almost identical to the donut recipe with the exception of the additional chocolate chips and the pan it is cooked in.  I have a theory that if you find donuts to be an acceptable breakfast, then you should have no problem with a piece of cake for breakfast.  Happy eating :-).

Adapted from http://glutenfreehomemaker.com/gluten-free-yellow-cake-recipe/

Chocolate Donuts

Chocolate donuts.  Is it possible?  Yes, it is!  I have decided that cake donuts are just that- cake in a donut shape.  So, here is a recipe for making chocolate donuts.  Or, if you prefer cake, put it in a cake pan.


1/2 c. coconut oil

1 1/2 c. granulated sugar

3 flax eggs (3 T. golden flaxseed meal and 9 T. warm water) OR 3 Ener-G eggs (4 1/2 tsp Ener-G egg replacer and 6 T water)

2 tsp vanilla

1 c. brown rice flour

3/4 c. potato starch

1/2 c. tapioca starch

1/2 tsp xanthan gum

1 tsp baking powder

1 tsp baking soda

1/2 tsp salt

1/2 c. cocoa powder

1 c. coconut milk (from a carton)


Directions:

Melt coconut oil and stir together with sugar in a large bowl.  Add “eggs” and vanilla and stir well.

In a separate bowl, combine dry ingredients.

Add the dry ingredients and the milk to the wet ingredients, beginning and ending with the dry ingredients.  I usually give it a quick mix with a mixer just to make sure all those gluten free ingredients are incorporated (about 1-2 minutes).  The last thing you want is a mouthful of unblended rice flour.

Put about 2 1/2 T. of batter into greased donut pan.  Bake in preheated oven at 350 degrees for about 13-15 minutes until donut springs back when you touch it.

Makes about 18.

You may top with glaze.  See the recipe here: Chocolate Glaze.


Adapted from http://glutenfreehomemaker.com/gluten-free-yellow-cake-recipe/

Glutino Stuffed Chocolate Chip Cookies


A.k.a. Oreo Stuffed Chocolate Chip Cookies but without gluten, dairy, or eggs

I first ran across this recipe a few months before I went gluten free.  It was a hit and I was sad when I found out I needed to go gluten free.  To me, that meant I would never eat these delicious cookies again.  However, I finally found some chocolate sandwich cookies that tasted pretty close and decided to try my hand at the recipe again.  This is the result.  Enjoy!


1 c. coconut oil (I used LouAna brand)

3/4 c. packed light brown sugar

1 c. granulated sugar

2 Ener-G eggs (or 2 real eggs- for 2 Ener-G eggs, mix 3 tsp. Ener-G powder with 4 T. water and let it sit for a few minutes)

1 T. vanilla extract (use the real stuff!)

2 c. brown rice flour

1 c. potato starch (not potato flour!)

1/2 c. tapioca starch

1/2 tsp xanthan gum (this is essential if you want your cookie to stay together)

1 tsp salt (a little less)

1 tsp baking soda

1 cup chocolate chips (I used Enjoy Life Dark Chocolate Chips.)

1 package Glutino Chocolate Sandwich Cookies (caution:  If you are cooking for someone with an egg allergy, you may want to choose a different brand of cookies.  These say they may contain eggs.  I have never had an issue but I also don’t get really sick.  Check with the person you are cooking for to make sure these cookies work for them.)


Directions: Make Ener-G eggs.  Mix together coconut oil and sugars.  Add Ener-G eggs and vanilla and stir well.

Stir together flours (brown rice, potato starch, tapioca starch), xanthan gum, salt, and baking soda.

Add flour mixture into wet mixture in thirds and stirring after each addition.  Stir in chocolate chips.

(If you stop at this point, you have a versatile cookie dough that you can put in ice cream or use as a crust.)

*Do not skip this step!*  Refrigerate dough for an hour.   Coconut oil melts at a lower temperature, so you will get cookie brittle if you put it in the oven without chilling it.

Preheat the oven to 350 degrees.  Once dough is chilled, put about a tablespoon of dough on one side of the Glutino and about a tablespoon on the other side.  Squish it together until you have completely sealed in the Glutino.  Put the prepared cookies back in the fridge while you are waiting for the oven to preheat.

Place cookies on cookie sheet and put in preheated oven for 13 minutes or until they start to brown.  They will harden some while cooling, so do not over bake.  Allow to cool a few minutes before removing from cookie sheet.

These freeze well.

If your cookies are spreading, you need to re-chill your dough before cooking anymore of them.  Or, you can just eat cookie dough :-).

IMG_4550.JPG
This is how they should look coming out of the oven if you have chilled the dough beforehand.

Adapted from the original recipe:

http://picky-palate.com/2011/01/06/oreo-stuffed-chocolate-chip-cookies/

Apple Crumb Pie

This is one of my favorite holiday pies.  It works for most holidays- Thanksgiving, Christmas, Easter, Fourth of July, etc. Best of all, I usually have at least one person say, “This is gluten free?” If you’ve ever made something gluten free, you know that that is a compliment.  So, here it is, and I hope you get to surprise someone that it is gluten free :-).  Also, do yourself a favor and make the crumb topping I have listed below rather than trying to make a top crust.  In the picture I used gluten free oatmeal, but it is just as good with pecans or walnuts.


Crust:

1 c. brown rice flour

1/2 c. potato starch

1/4 c. tapioca starch

1/2 tsp xanthan gum

1 tsp salt

1-2 T. sugar (granulated)

1/2 c. oil (I usually use canola or vegetable- whatever I have around)

3-4 T. cold water

Directions:

Mix the dry ingredients together.  Add the oil and stir until it is all incorporated, but don’t over stir.  Add 3 Tablespoons water and begin stirring.  If it looks like it’s going to be dry, add the 4th or part of the 4th.  Stir just until it’s all stirred in.  Place the dough ball in the pie shell and press it into the pan.  Don’t bother trying to roll it out.  You want the depth of the shell to be fairly uniform, but it doesn’t have to be perfect as there will be apples on top of it to cover any unevenness.   If there’s extra, I just pinch it off and eat it :-).  Yum!


Filling:

1 c. sugar (granulated)

1/3 c. brown rice flour

1 tsp nutmeg

1 tsp cinnamon

dash salt

3 T. melted butter (I use Earth Balance or Smart Balance dairy free)

8 c. thinly sliced apples, unpeeled and tart (I use mainly Granny Smith but I usually use one or two red apples like Gala.)

Directions:

Slice apples (I use a food processor on the slicing setting).  Mix dry ingredients in a very large bowl.  Add in butter and apples and stir until they are completely coated.  Put filling in pie shell.


Crumb topping:

1/4 c. brown sugar

1/4 c. brown rice flour

2 T. butter (Earth Balance or Smart Balance dairy free)

1/2 c. chopped walnuts, pecans, or gluten free oatmeal (I use Chex or Bob’s Red Mill Brand- make sure they say gluten free.)

Directions:

Stir ingredients together and press onto top of filling in pie shell.


Preheat oven to 425 degrees and cover the edges of the pie with foil or a pie shield.  Bake 35-50 minutes until the sides are bubbling and top is lightly browning.  Remove foil for the last 15 minutes if the crust isn’t looking cooked.


This pie is good served still warm.  It reheats well and it also freezes well.  If you look closely at the picture, you can actually see a few ice crystals where it hadn’t quite defrosted yet.  Oops!


Easy Meatloaf

Meatloaf?  How do you make meatloaf without bread crumbs?  It’s really quite easy.  Rice Chex are the answer.  One of my friends shared this trick with me and it has made breadcrumbs an easy ingredient once again!


Easy Meatloaf

Ingredients:

2 pounds ground meat (I used all ground beef this time, but I have used 1 pound ground beef and 1 pound ground sausage in the past)

1 Ener-G egg (or a real egg.  1 Ener-G egg is 1 1/2 tsp Ener-G Egg Replacer mixed with 2 T water.  Allow it to sit for a few minutes before using.)

1 cup Rice Chex, crushed

1 Tablespoon Italian seasoning if using sausage (use 2 Tablespoons if using all ground beef)

Salt and pepper to taste (I probably used 1 tsp salt and 1/2 tsp black pepper but I am not sure.)


Directions:  Mix the Ener-G Egg Replacer with water and allow to sit.  Crush Rice Chex.  Combine all ingredients including Chex and egg replacer and mix thoroughly (I did it by hand).  Place in a bread pan and push it in the pan to get out any air pockets.  If you have too much meat, you can spread into another pan.

Bake at 375 degrees for 1 hour.  Test the inside with a meat thermometer to make sure it has reached 160 degrees.  Serve with ketchup if desired.

IMG_4635
Topped with ketchup


Chicken Piccata

I had lemon juice and capers that needed to be used up and I came across this idea.  I wasn’t sure how this was going to go over, but my husband ended up loving it!


Chicken Piccata


Flour mixture:

1/4 c. brown rice flour

1/4 c. white rice flour

1/4 tsp paprika

1/4 tsp black pepper

dash salt

Chicken:

1 pound chicken tenderloins or chicken breast

2 T. olive oil

1 clove garlic, minced

Sauce:

1 c. white wine

1/2 c. chicken broth

1/5 c. or less of lemon juice

1-2 T. butter (I usually use dairy free Smart Balance or Earth Balance)

2 T. capers, drained

1 T. dried parsley

2 tsp dried basil

Dash salt


Chicken prep:

Mix all dry ingredients and coat chicken in flour mixture.  Save any extra flour mixture for the sauce later.


Cook:


Heat oil and cook garlic for one minute.  Then remove garlic and set aside for later.

Cook chicken in heated oil for about 5 minutes on one side and  then 5 on the other side until cooked through (white should creep up around the sides and then after you flip it and cook, it should feel fairly firm when you press a fork on it without piercing it.)

Sauce:

Boil all sauce ingredients together in a pan after chicken is removed, starting with the wine.  Temper the excess flour from coating the chicken and then add it to the sauce (that means to take a little of the liquid out of the pan and put it in a bowl.  Stir the flour mixture into the liquid and then add it back to the pan.  This prevents it from clumping.)


Serve over cooked spaghetti noodles.  I served mine with a size of yellow squash and onions cooked in olive oil with a dash of garlic and salt.


http://allrecipes.com/recipe/100690/chicken-piccata-with-angel-hair-pasta/?internalsource=search%20results&referringcontenttype=search%20results


Hamburger Buns

If you have to eat egg free in addition to gluten and dairy free, good luck finding bread in a store that works well.  Maybe your store has it and that’s great.  I, however, have resorted to making my own buns, which is not nearly so scary as you would think.  I found a GF vegan bread recipe online and then put it in my bun pans and cooked it for less time, and then enjoyed pulled pork sandwiches and hamburger  ON A BUN!

They held up really well for about 2-3 days and then they started to break a little more on the last day, so just eat them quickly! 🙂

I followed this lady’s directions, including the flour mixture that she used:

http://www.hopeskitchen.info/2012/06/best-gluten-free-vegan-bread.html


Some uses for the bun:

Eggplant and Beef Green Curry

For me, curry is a quick meal that tastes like I went to a restaurant.  One of the great things about curry is that you can toss in almost any vegetable and it is very forgiving.  Salt and lime are essential to making it taste good.  Also, if you can’t find some sort of curry paste, I would hesitate to make this recipe.  We tried it last night without the curry paste and tried to piece together our own, but we were missing about half the ingredients and well…let’s just say, use the curry paste unless you know what you’re doing with seasonings!  With the curry paste, it’s great!

Eggplant and Beef Green Curry

Ingredients:

1 pound ground beef

1-2 T. oil or grease from ground beef

1 eggplant, peeled and diced

3-4 medium potatoes (I used golden potatoes with skins on), diced

1 zucchini, diced

1/2 onion, diced


2 tsp minced garlic

2 inches fresh ginger, minced

1 jar Thai Kitchen green curry paste

1-2 cans coconut milk

2-3 limes, zested and juiced

salt to taste

Directions:

Brown the ground beef and set aside.  Add some oil or grease back into the pan.  Cook the potatoes over medium heat with lid on until they are softening a little.  Add the rest of the veggies, ginger, and garlic.  Cover and stir occasionally until they are all getting a little soft.  Add curry paste and cook for about 1 minute.  Add the cooked meat.  Add coconut milk, lime zest and juice, and salt.  Serve over rice (I make mine in a rice cooker.)


%d bloggers like this: